In a world where self-expression takes countless forms, cosmetics have emerged as a beloved tool for many to celebrate their uniqueness, boost confidence, and embrace their personal style. Unlike fleeting trends that come and go, the right cosmetics can become a trusted companion—accentuating your best features, correcting small imperfections, and even serving as a form of daily self-care. But with the vast array of products available, from lightweight foundations to long-lasting lipsticks, creamy blushes to pigmented eyeshadows, navigating the world of cosmetics can feel overwhelming. This guide is designed to demystify the process, helping you understand how to choose, apply, and care for cosmetics in a way that aligns with your skin type, preferences, and lifestyle.
Let’s start with the foundation of any great makeup look: skincare. Before reaching for any cosmetic product, it’s essential to build a solid skincare routine. Think of your skin as a canvas—if it’s hydrated, balanced, and healthy, your cosmetics will glide on smoother, last longer, and look more natural. Cleansing is the first step; a gentle cleanser removes dirt, oil, and impurities that can clog pores and cause makeup to look patchy. Avoid harsh cleansers that strip the skin of its natural oils, as this can lead to dryness, irritation, and even excess oil production as the skin tries to compensate. Instead, opt for a formula that matches your skin type—gel cleansers for oily or combination skin, cream cleansers for dry or sensitive skin, and micellar water for a quick, no-rinse option on busy days.
After cleansing, toning helps to balance the skin’s pH levels, which can be disrupted by cleansing products. Toners also prep the skin to absorb subsequent products, like serums and moisturizers, more effectively. Look for toners with hydrating ingredients such as hyaluronic acid, glycerin, or rose water—these will add an extra layer of moisture without leaving the skin feeling heavy. Avoid toners with high alcohol content, as they can be drying and irritating, especially for those with sensitive or dry skin.
Moisturizer is non-negotiable, regardless of your skin type. Even oily skin needs hydration—using a lightweight, oil-free moisturizer can help regulate oil production and prevent the skin from overcompensating with excess shine. Dry skin benefits from richer, cream-based moisturizers that contain ingredients like shea butter, ceramides, or squalane, which lock in moisture and repair the skin’s barrier. Applying moisturizer before makeup creates a smooth base, preventing products from settling into fine lines or dry patches.
Sunscreen is another non-negotiable step, even on cloudy days or when you’re staying indoors. UV rays can penetrate windows and cause long-term damage, including premature aging, dark spots, and an increased risk of skin cancer. Look for a broad-spectrum sunscreen with an SPF of 30 or higher that’s suitable for your skin type—oil-free and non-comedogenic for oily or acne-prone skin, and hydrating for dry skin. Many moisturizers and foundations now include SPF, but it’s important to note that these may not provide enough coverage on their own. For optimal protection, apply a dedicated sunscreen first, wait a few minutes for it to absorb, then proceed with your makeup.
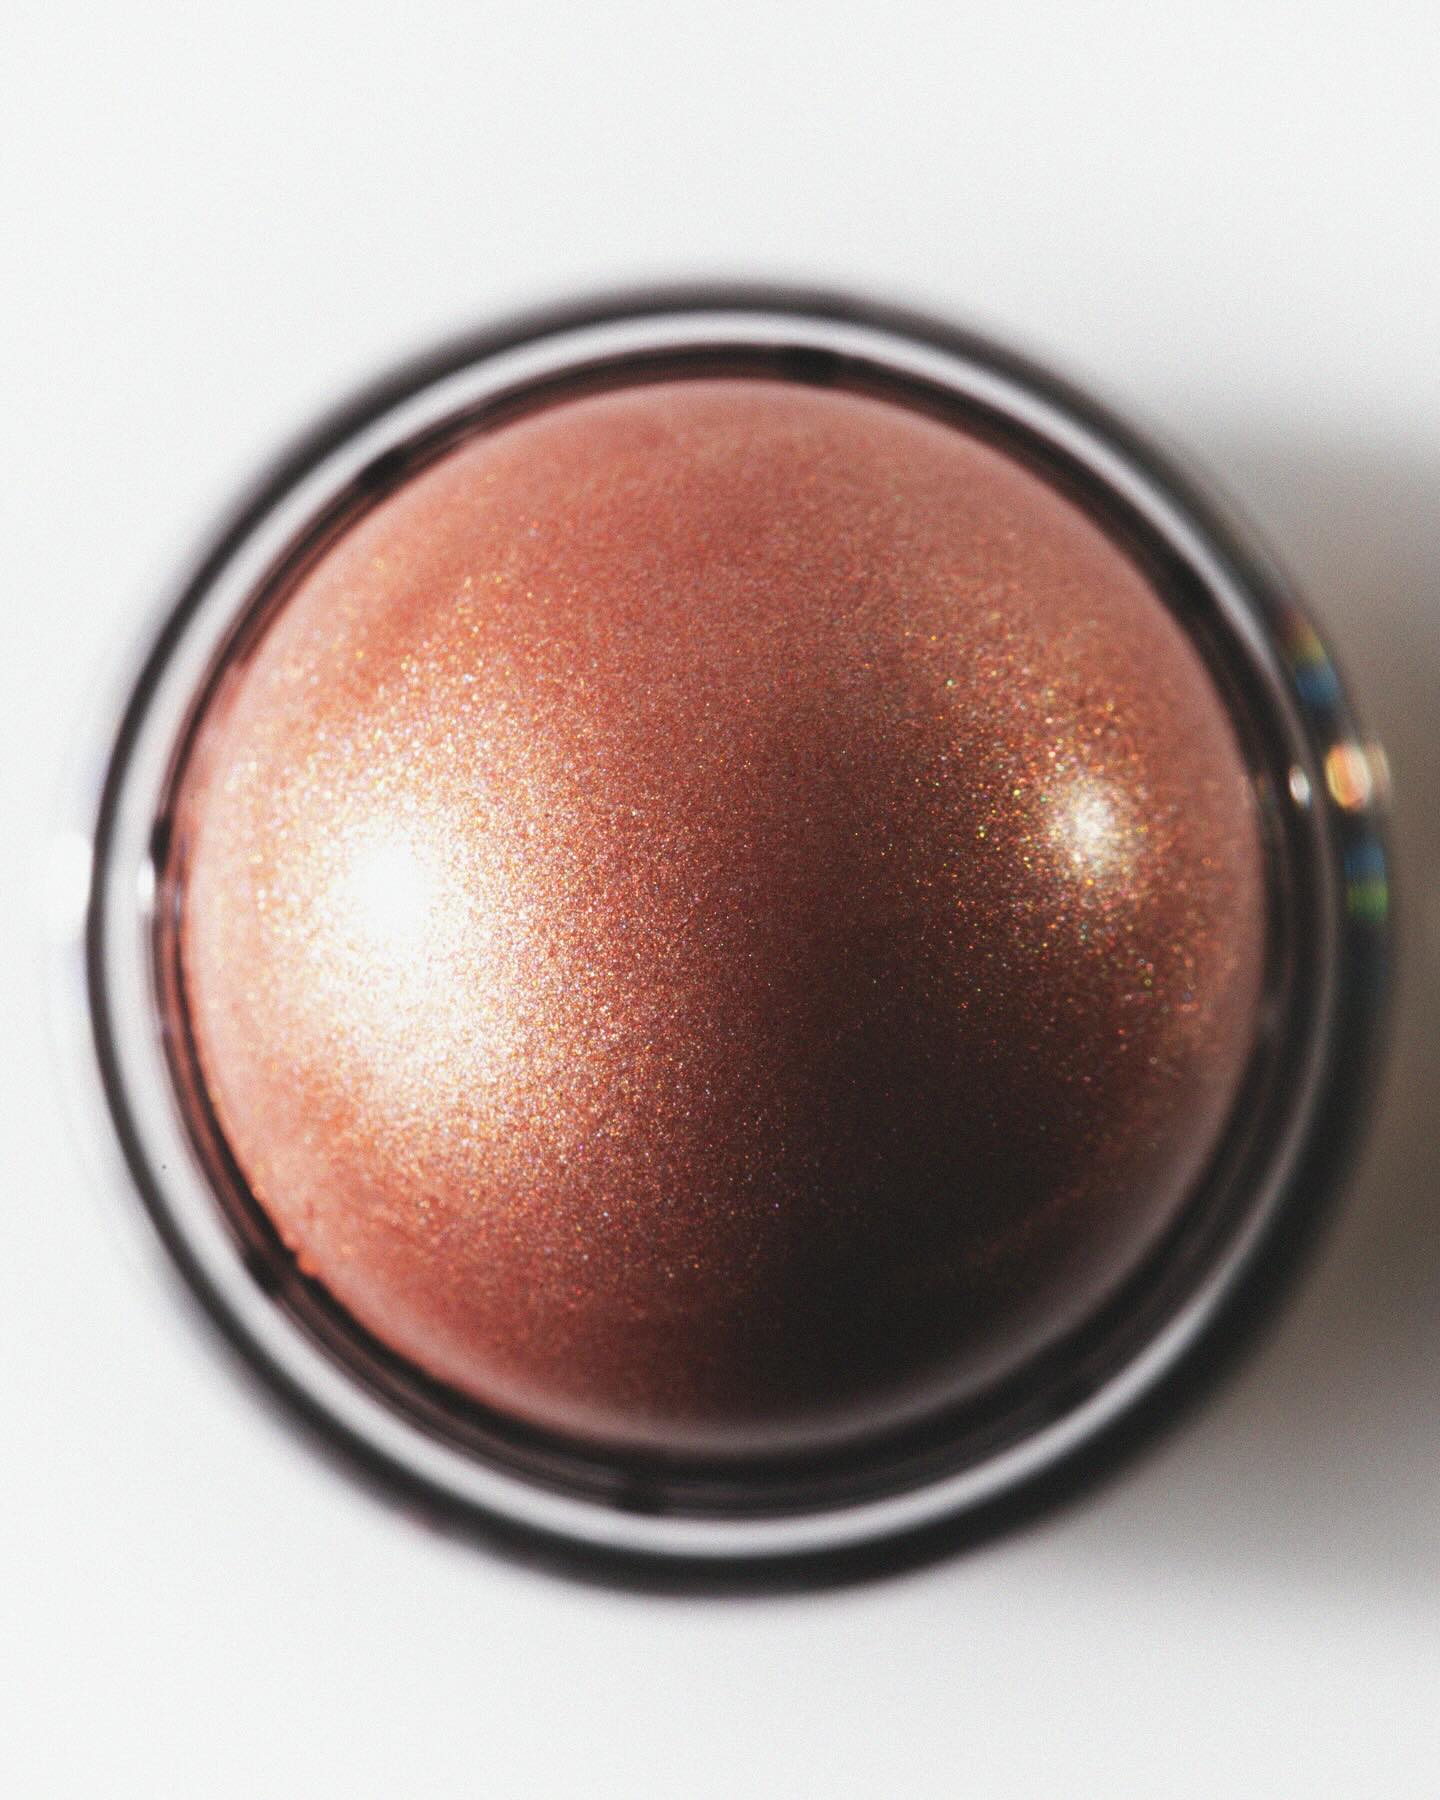
Once your skincare routine is complete, it’s time to move on to makeup primers. Primers are designed to extend the wear time of your makeup, minimize the appearance of pores and fine lines, and create a smooth base for foundation and other products. There are many different types of primers, each tailored to specific skin concerns. For example, mattifying primers are ideal for oily or combination skin, as they control shine and keep makeup in place throughout the day. Hydrating primers are great for dry skin, adding an extra boost of moisture to prevent makeup from looking cakey. Color-correcting primers can help neutralize discoloration—green primers cancel out redness (from acne, rosacea, or sensitivity), purple primers brighten dull skin, and peach or orange primers counteract dark circles or hyperpigmentation.
When choosing a primer, consider your skin type and the look you want to achieve. If you’re going for a dewy finish, a hydrating or illuminating primer is a good choice. If you prefer a matte finish, opt for a mattifying primer. Apply a small amount of primer to your face—focusing on areas where makeup tends to fade or crease, like the T-zone, around the nose, and under the eyes—and blend it in with your fingers or a makeup sponge. Wait a minute or two for the primer to set before applying foundation.
Next up is foundation, which is perhaps the most versatile cosmetic product—used to even out skin tone, cover imperfections, and create a flawless base. But with so many formulas, finishes, and shades available, choosing the right foundation can be a challenge. Let’s break down the key factors to consider.
First, formula. Foundations come in liquid, cream, powder, stick, and cushion forms. Liquid foundations are the most popular, as they’re easy to blend and offer a range of coverage options—from sheer to full. They’re suitable for most skin types, but it’s important to choose a formula that matches your skin’s needs. For example, lightweight liquid foundations are great for oily or combination skin, as they won’t weigh the skin down. Full-coverage liquid foundations are ideal for those who want to cover acne, dark spots, or other imperfections. Cream foundations are richer and more hydrating, making them a good choice for dry or mature skin. They offer medium to full coverage and have a dewy or satin finish. Powder foundations are perfect for oily skin, as they absorb excess oil and provide a matte finish. They’re also easy to touch up throughout the day. Stick foundations are convenient for on-the-go application and offer medium to full coverage. Cushion foundations are lightweight and portable, with a dewy finish—great for a natural, “no-makeup” makeup look.
Second, finish. The finish of a foundation refers to how it looks on the skin once applied. Common finishes include dewy, satin, matte, and natural. Dewy finishes have a luminous, glowing appearance—ideal for dry skin or those who want a fresh, youthful look. Satin finishes are somewhere between dewy and matte, with a subtle sheen that’s not too shiny. They’re suitable for most skin types and offer a natural, healthy-looking finish. Matte finishes have no shine—great for oily skin or those who prefer a more polished, long-lasting look. Natural finishes are designed to look like your skin but better—sheer to medium coverage with a finish that mimics the skin’s natural texture.
Third, shade. Choosing the right shade is crucial—if your foundation is too light, you’ll look ashy; if it’s too dark, you’ll have a noticeable line of demarcation around your jawline. To find your perfect shade, test the foundation on your jawline (not your wrist or hand, as these areas have a different skin tone than your face) in natural light. The right shade should blend seamlessly into your skin, disappearing without leaving a trace. If you’re unsure between two shades, opt for the lighter one—you can always warm it up with bronzer or contour later. Many brands also offer shade adjusters, which can be mixed with your foundation to lighten or darken the color as needed.
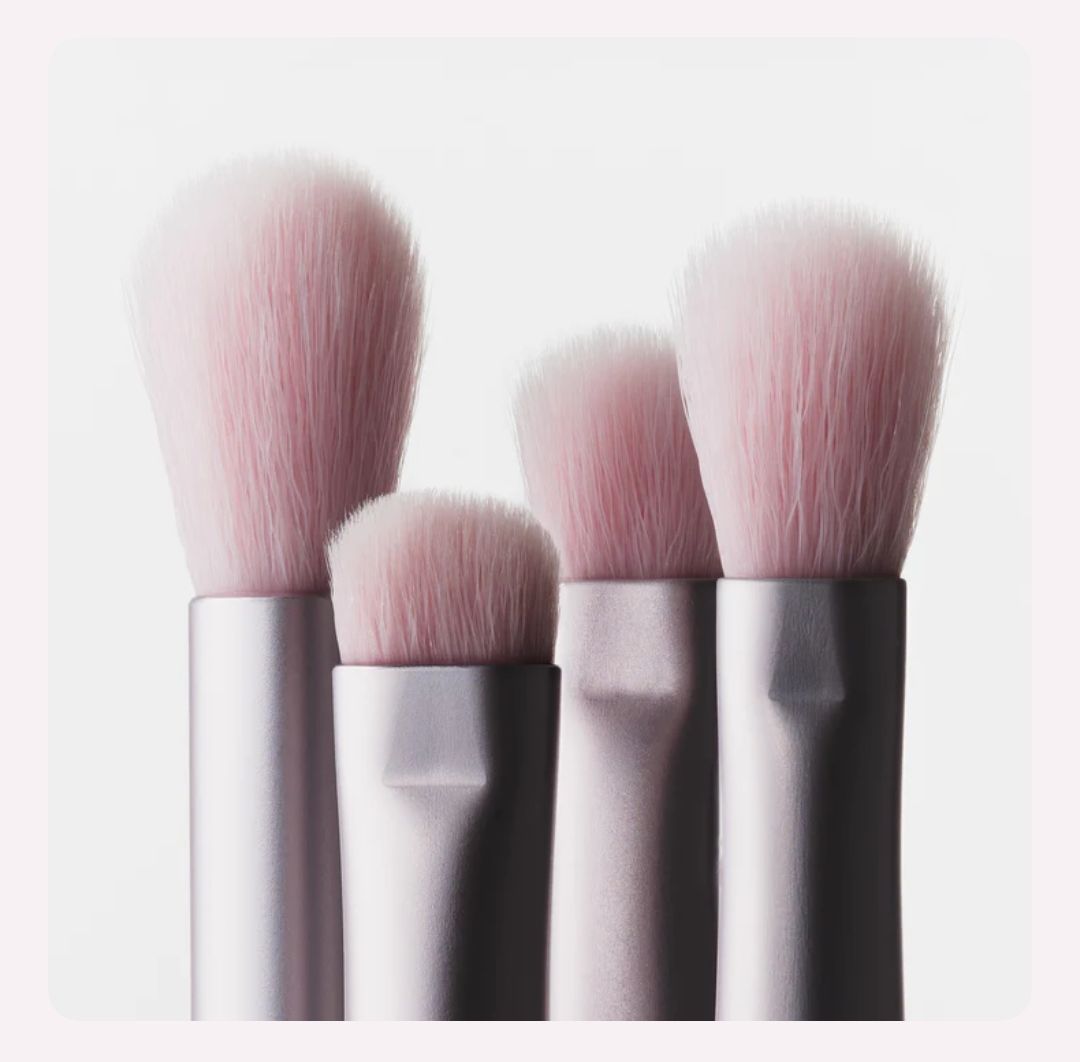
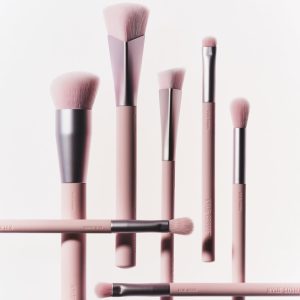
When applying foundation, the tools you use can make a big difference in the final result. Makeup sponges (like beauty blenders) are great for achieving a natural, airbrushed finish—they blend foundation seamlessly into the skin, preventing streaks or lines. To use a makeup sponge, dampen it first (this helps the foundation go on lighter and more evenly), then dab a small amount of foundation onto the sponge and bounce it onto your face, starting from the center and working your way out. Brushes are another option—flat foundation brushes are good for full coverage, while stippling brushes create a more natural finish. If you prefer to use your fingers, make sure your hands are clean and moisturized—warmth from your fingers can help the foundation blend into the skin more easily.
Concealer is next, and it’s a game-changer for covering specific imperfections like dark circles, acne, redness, or discoloration. Like foundation, concealers come in a variety of formulas—liquid, cream, stick, and color-correcting. Liquid concealers are lightweight and easy to blend, making them ideal for under-eye circles or small blemishes. Cream concealers are thicker and offer more coverage, great for covering acne or dark spots. Stick concealers are convenient for on-the-go touch-ups and offer medium to full coverage. Color-correcting concealers work similarly to color-correcting primers—green for redness, peach for dark circles, purple for dullness.
When choosing a concealer shade, it’s important to select one that’s slightly lighter than your foundation for under-eye circles (this helps brighten the area and make you look more awake). For covering blemishes or discoloration, choose a shade that matches your foundation exactly—this ensures the concealer blends in seamlessly and doesn’t stand out. To apply concealer under the eyes, use a small brush or your finger to dot the product in a triangle shape (from the inner corner of the eye down to the cheekbone and back up to the outer corner)—this covers dark circles and brightens the entire under-eye area. Blend the concealer with a makeup sponge using gentle tapping motions (avoid rubbing, as this can pull the skin and cause creasing). For blemishes, dot a small amount of concealer directly onto the spot, then blend the edges with a brush or sponge to soften the line between the concealer and your foundation.
Setting powder is used to set foundation and concealer, preventing them from creasing, fading, or transferring throughout the day. It also helps control shine, especially for oily or combination skin. Setting powders come in loose and pressed forms. Loose powders are lightweight and offer a natural finish—great for setting under-eye concealer (to prevent creasing) or for overall setting. Pressed powders are more convenient for touch-ups and offer a slightly more matte finish.
When choosing a setting powder, look for one that’s translucent (colorless) if you want to avoid altering the color of your foundation. If you have dry skin, opt for a hydrating or luminous setting powder—these won’t dry out your skin or make it look cakey. For oily skin, a mattifying setting powder is a good choice. To apply setting powder, use a fluffy powder brush for overall setting—dip the brush into the powder, tap off the excess, then sweep it over your face in light, circular motions. For under-eye setting, use a small, fluffy brush or a makeup sponge to apply a small amount of powder—focus on the areas where concealer tends to crease, like the inner corner of the eye and under the lash line.
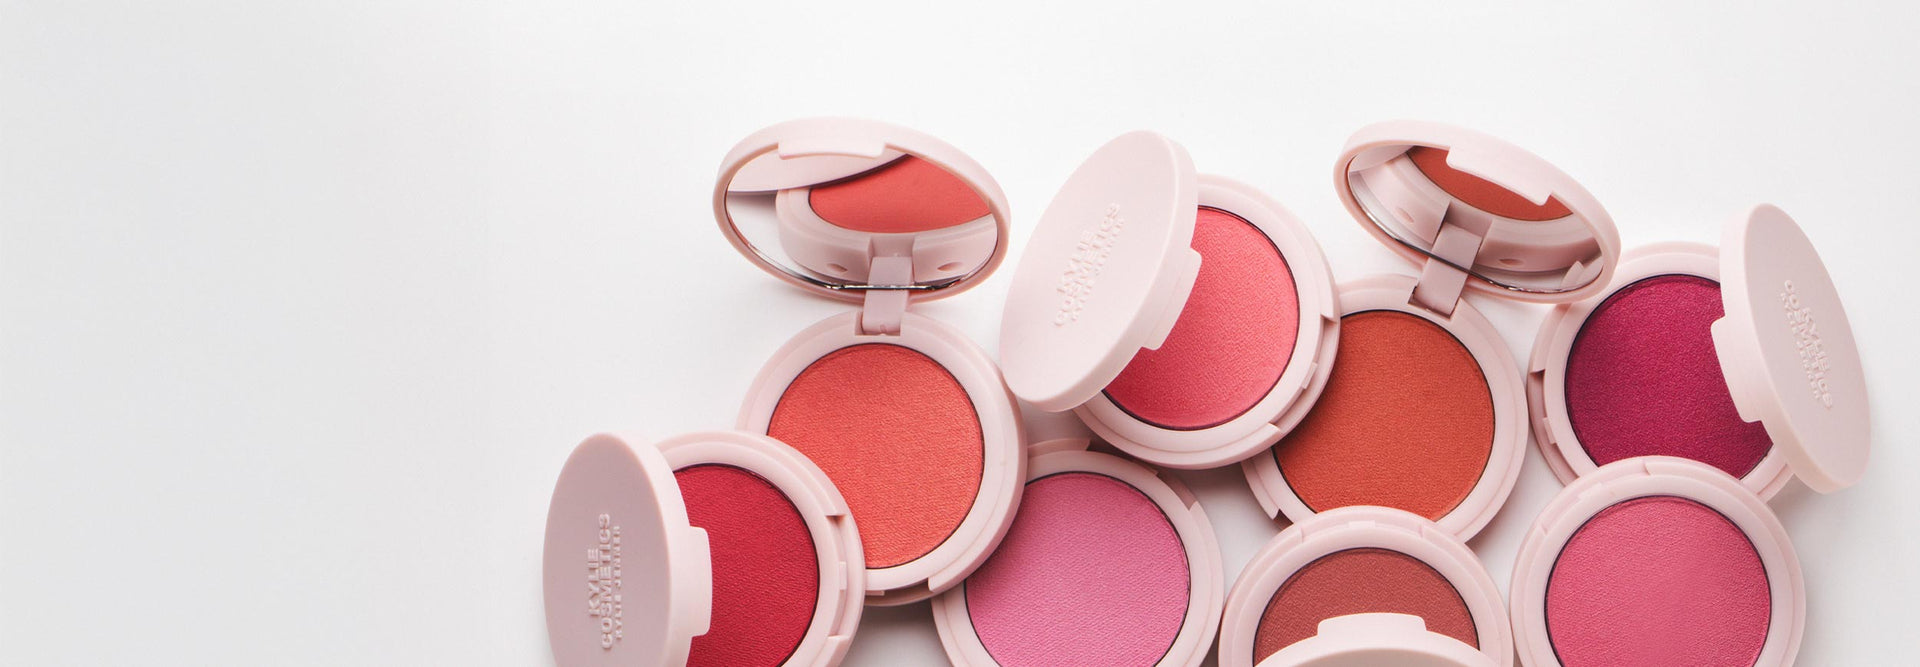
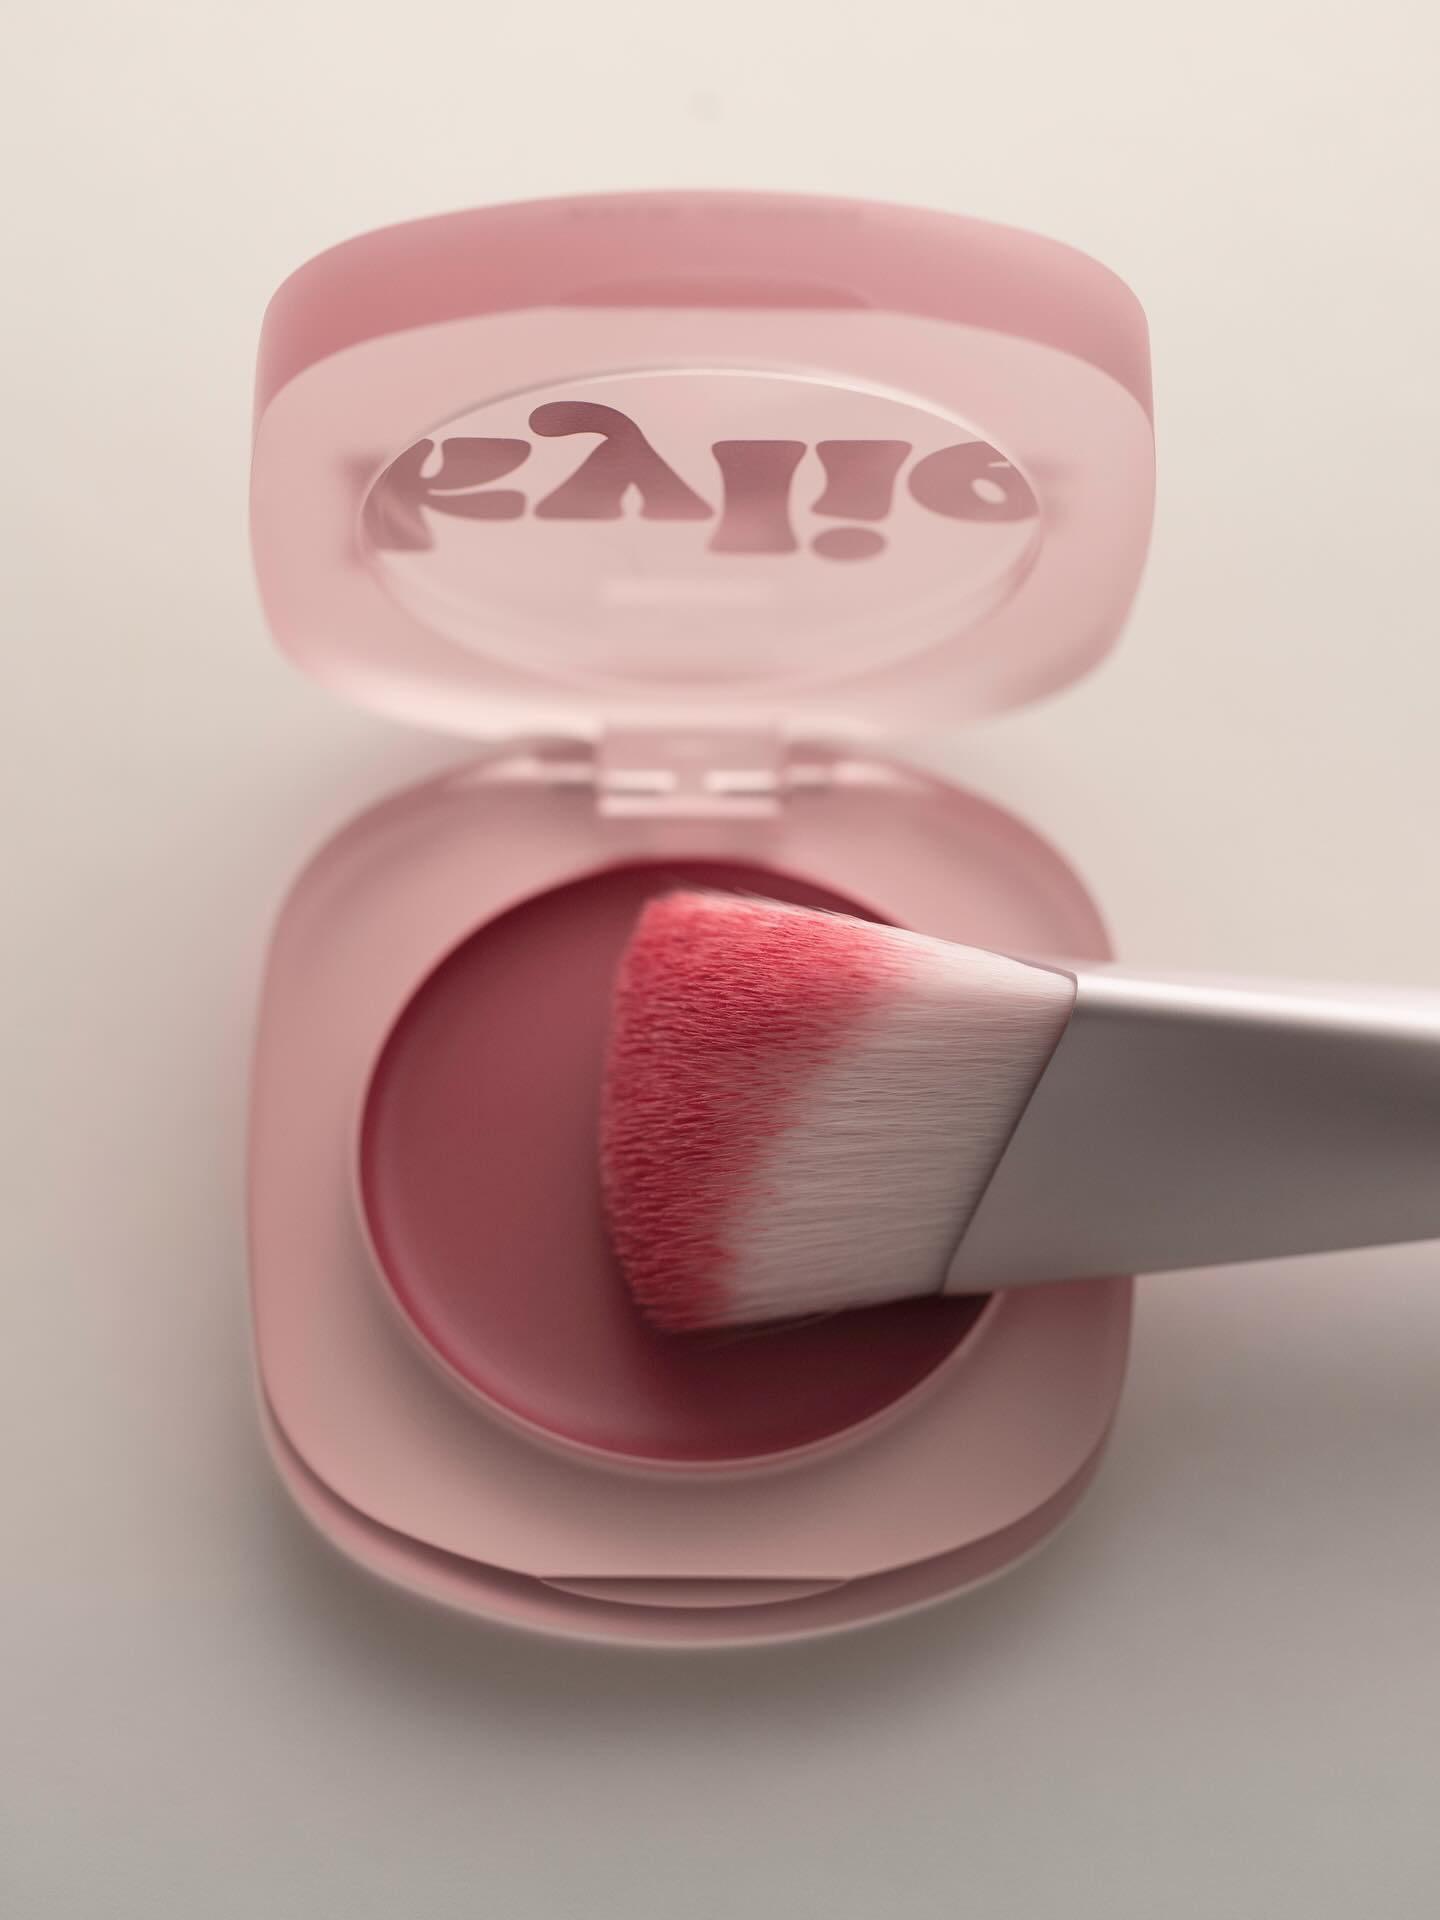
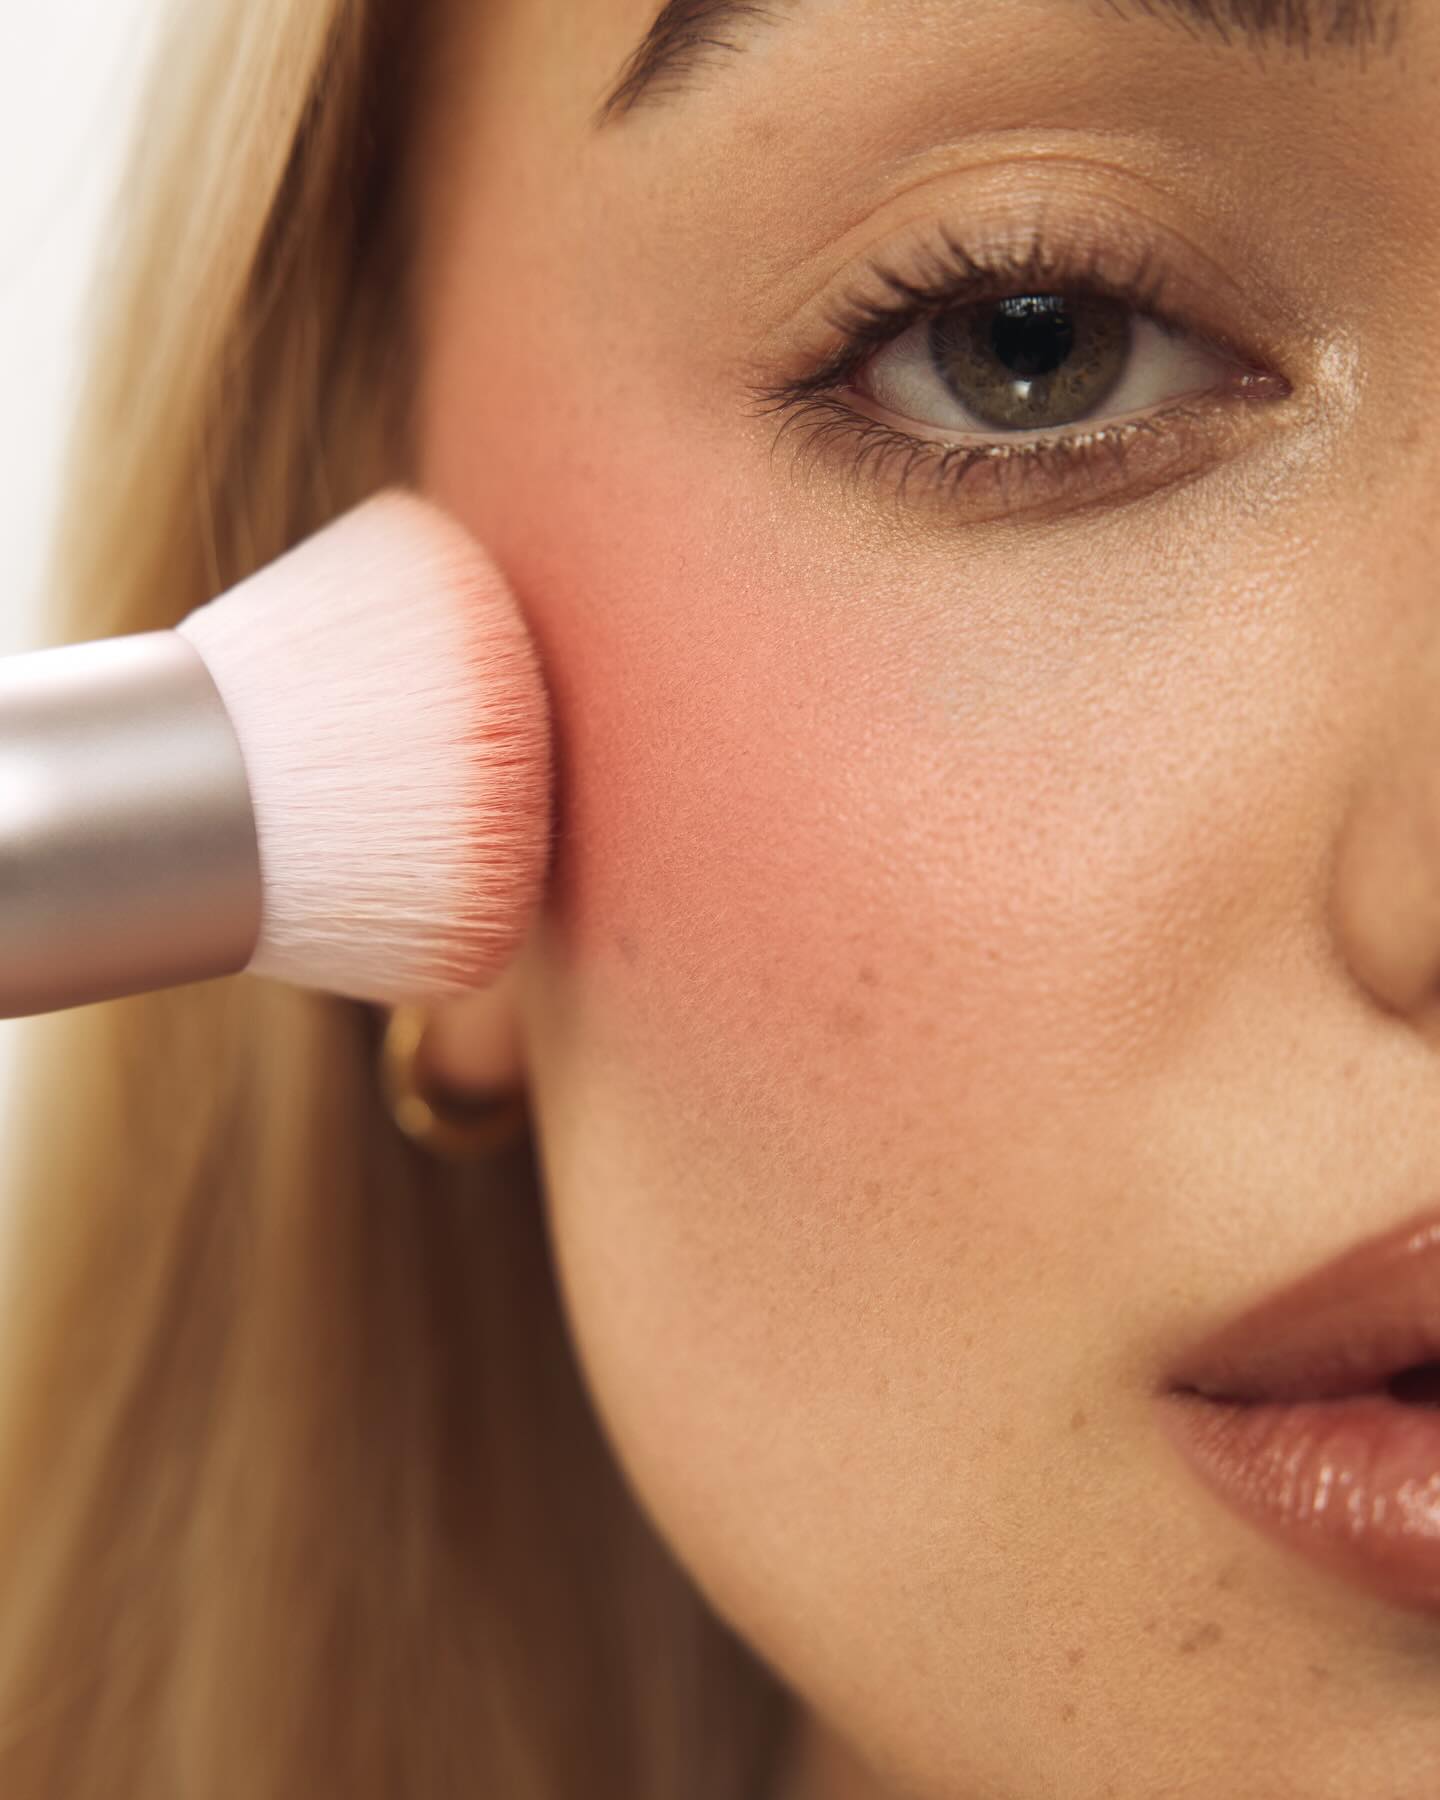
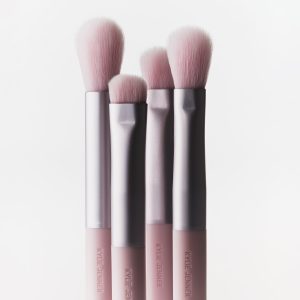
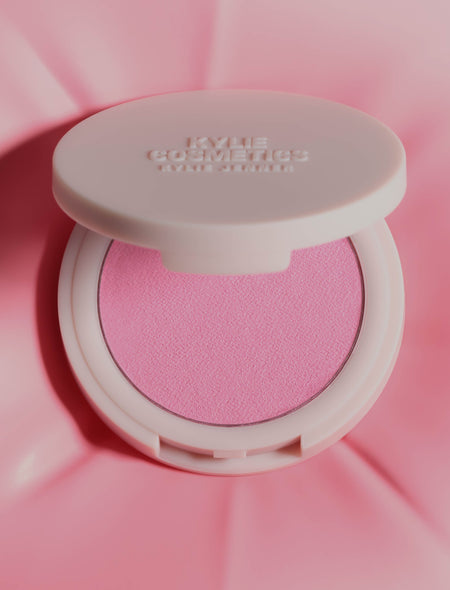
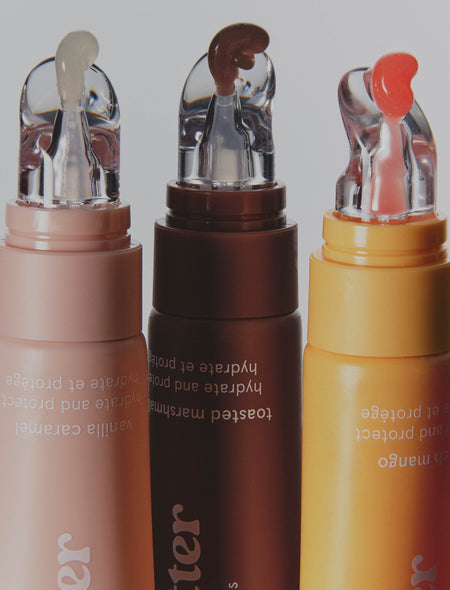
Blush, bronzer, and highlighter are the next steps, and they’re what add dimension, color, and glow to your makeup look. Let’s start with blush. Blush is used to add a healthy flush to the cheeks, mimicking the natural color your skin gets when you’re blushing. It can instantly make you look more awake, youthful, and radiant. Blushes come in powder, cream, liquid, and gel forms. Powder blushes are the most common—they’re easy to apply, blend well, and come in a wide range of shades. Cream blushes are more hydrating, making them a good choice for dry skin—they have a dewy finish and blend seamlessly into the skin. Liquid and gel blushes are lightweight and long-lasting, ideal for oily or combination skin—they dry down quickly and don’t fade or transfer easily.
When choosing a blush shade, consider your skin tone. For fair skin, soft pinks, peaches, and corals work well—they add a subtle flush without looking too intense. For medium skin, deeper pinks, terracottas, and warm peaches are flattering—they complement the skin’s natural warmth. For deeper skin tones, rich berries, deep corals, and warm reds are stunning—they add a vibrant pop of color without looking ashy.
To apply blush, smile and apply the product to the apples of your cheeks, then blend it upward toward your temples. This creates a natural, lifted look. For powder blush, use a fluffy blush brush—dip the brush into the powder, tap off the excess, then apply. For cream or liquid blush, use your fingers or a makeup sponge—dot a small amount onto the apples of your cheeks, then blend quickly (these formulas dry down fast, so it’s important to blend immediately).
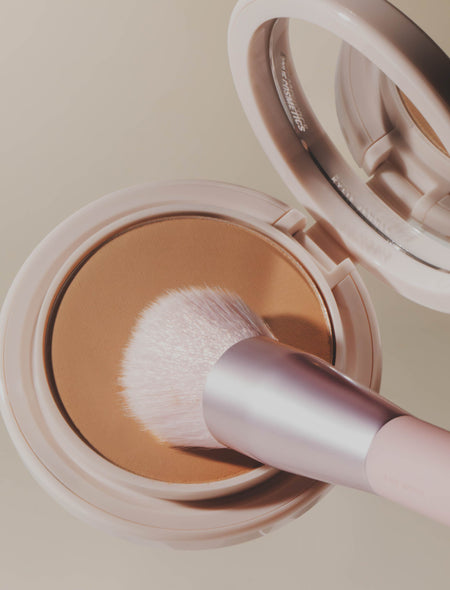
Bronzer is used to add warmth and definition to the face, mimicking the natural tan you get from the sun. It can be used to contour (define the cheekbones, jawline, and nose) or to add an all-over warm glow. Bronzers come in powder, cream, and liquid forms. Powder bronzers are the easiest to apply and blend, making them a good choice for beginners. Cream and liquid bronzers have a more natural, skin-like finish—great for dry skin or those who want a dewy look.
When choosing a bronzer shade, look for one that’s one to two shades darker than your natural skin tone. Avoid bronzers with orange or red undertones (unless you’re going for a bold, tropical look)—these can look unnatural. Instead, opt for bronzers with warm, golden, or neutral undertones. If you have fair skin, choose a light, golden bronzer. For medium skin, a warm, terracotta bronzer works well. For deeper skin tones, a rich, chocolatey bronzer is flattering.
To apply bronzer for a natural glow, use a fluffy bronzer brush to sweep the product over the areas where the sun naturally hits your face: the temples, the bridge of the nose, the cheekbones (just below the blush), and the jawline. For contouring, use a smaller, angled brush to apply the bronzer in the hollows of your cheeks (suck in your cheeks to find the hollow), along the jawline (to define the jaw), and on the sides of your nose (to make it look slimmer). Blend the bronzer well to avoid harsh lines—use a clean fluffy brush to soften the edges.
Highlighter is the final step in adding dimension to your face—it’s used to highlight the high points of your face, creating a luminous, glowing effect. Highlighters come in powder, cream, liquid, and stick forms. Powder highlighters are the most popular—they’re easy to apply and come in a range of finishes, from subtle sheen to intense glitter. Cream and liquid highlighters have a more natural, dewy finish—great for dry skin or those who want a “wet look” glow. Stick highlighters are convenient for on-the-go application and blend easily into the skin.
When choosing a highlighter shade, consider your skin tone and the finish you want. For fair skin, champagne, pale gold, or pearlescent highlighters are beautiful—they add a subtle glow without looking too intense. For medium skin, golden, peach, or rose gold highlighters work well—they complement the skin’s natural warmth. For deeper skin tones, bronze, copper, or gold highlighters are stunning—they add a rich, luminous glow.
To apply highlighter, use a small, fluffy highlighter brush (for powder highlighters) or your fingers (for cream or liquid highlighters) to apply the product to the high points of your face: the tops of your cheekbones, the brow bone (just below the eyebrow), the inner corner of the eye, the cupid’s bow (the center of your upper lip), and the tip of your nose. For a more intense glow, you can also apply a small amount of highlighter to the collarbone or shoulders (great for special occasions). Blend the highlighter well to avoid looking glittery or patchy—use a clean brush or your fingers to soften the edges.
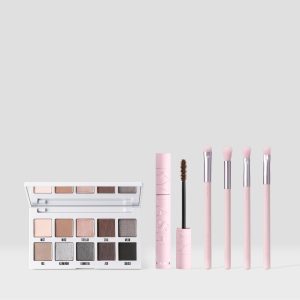
Now let’s move on to eye makeup, which is a fun and creative way to express your personal style. Eye makeup can range from a simple coat of mascara to a bold, colorful eyeshadow look—there are no rules, so feel free to experiment!
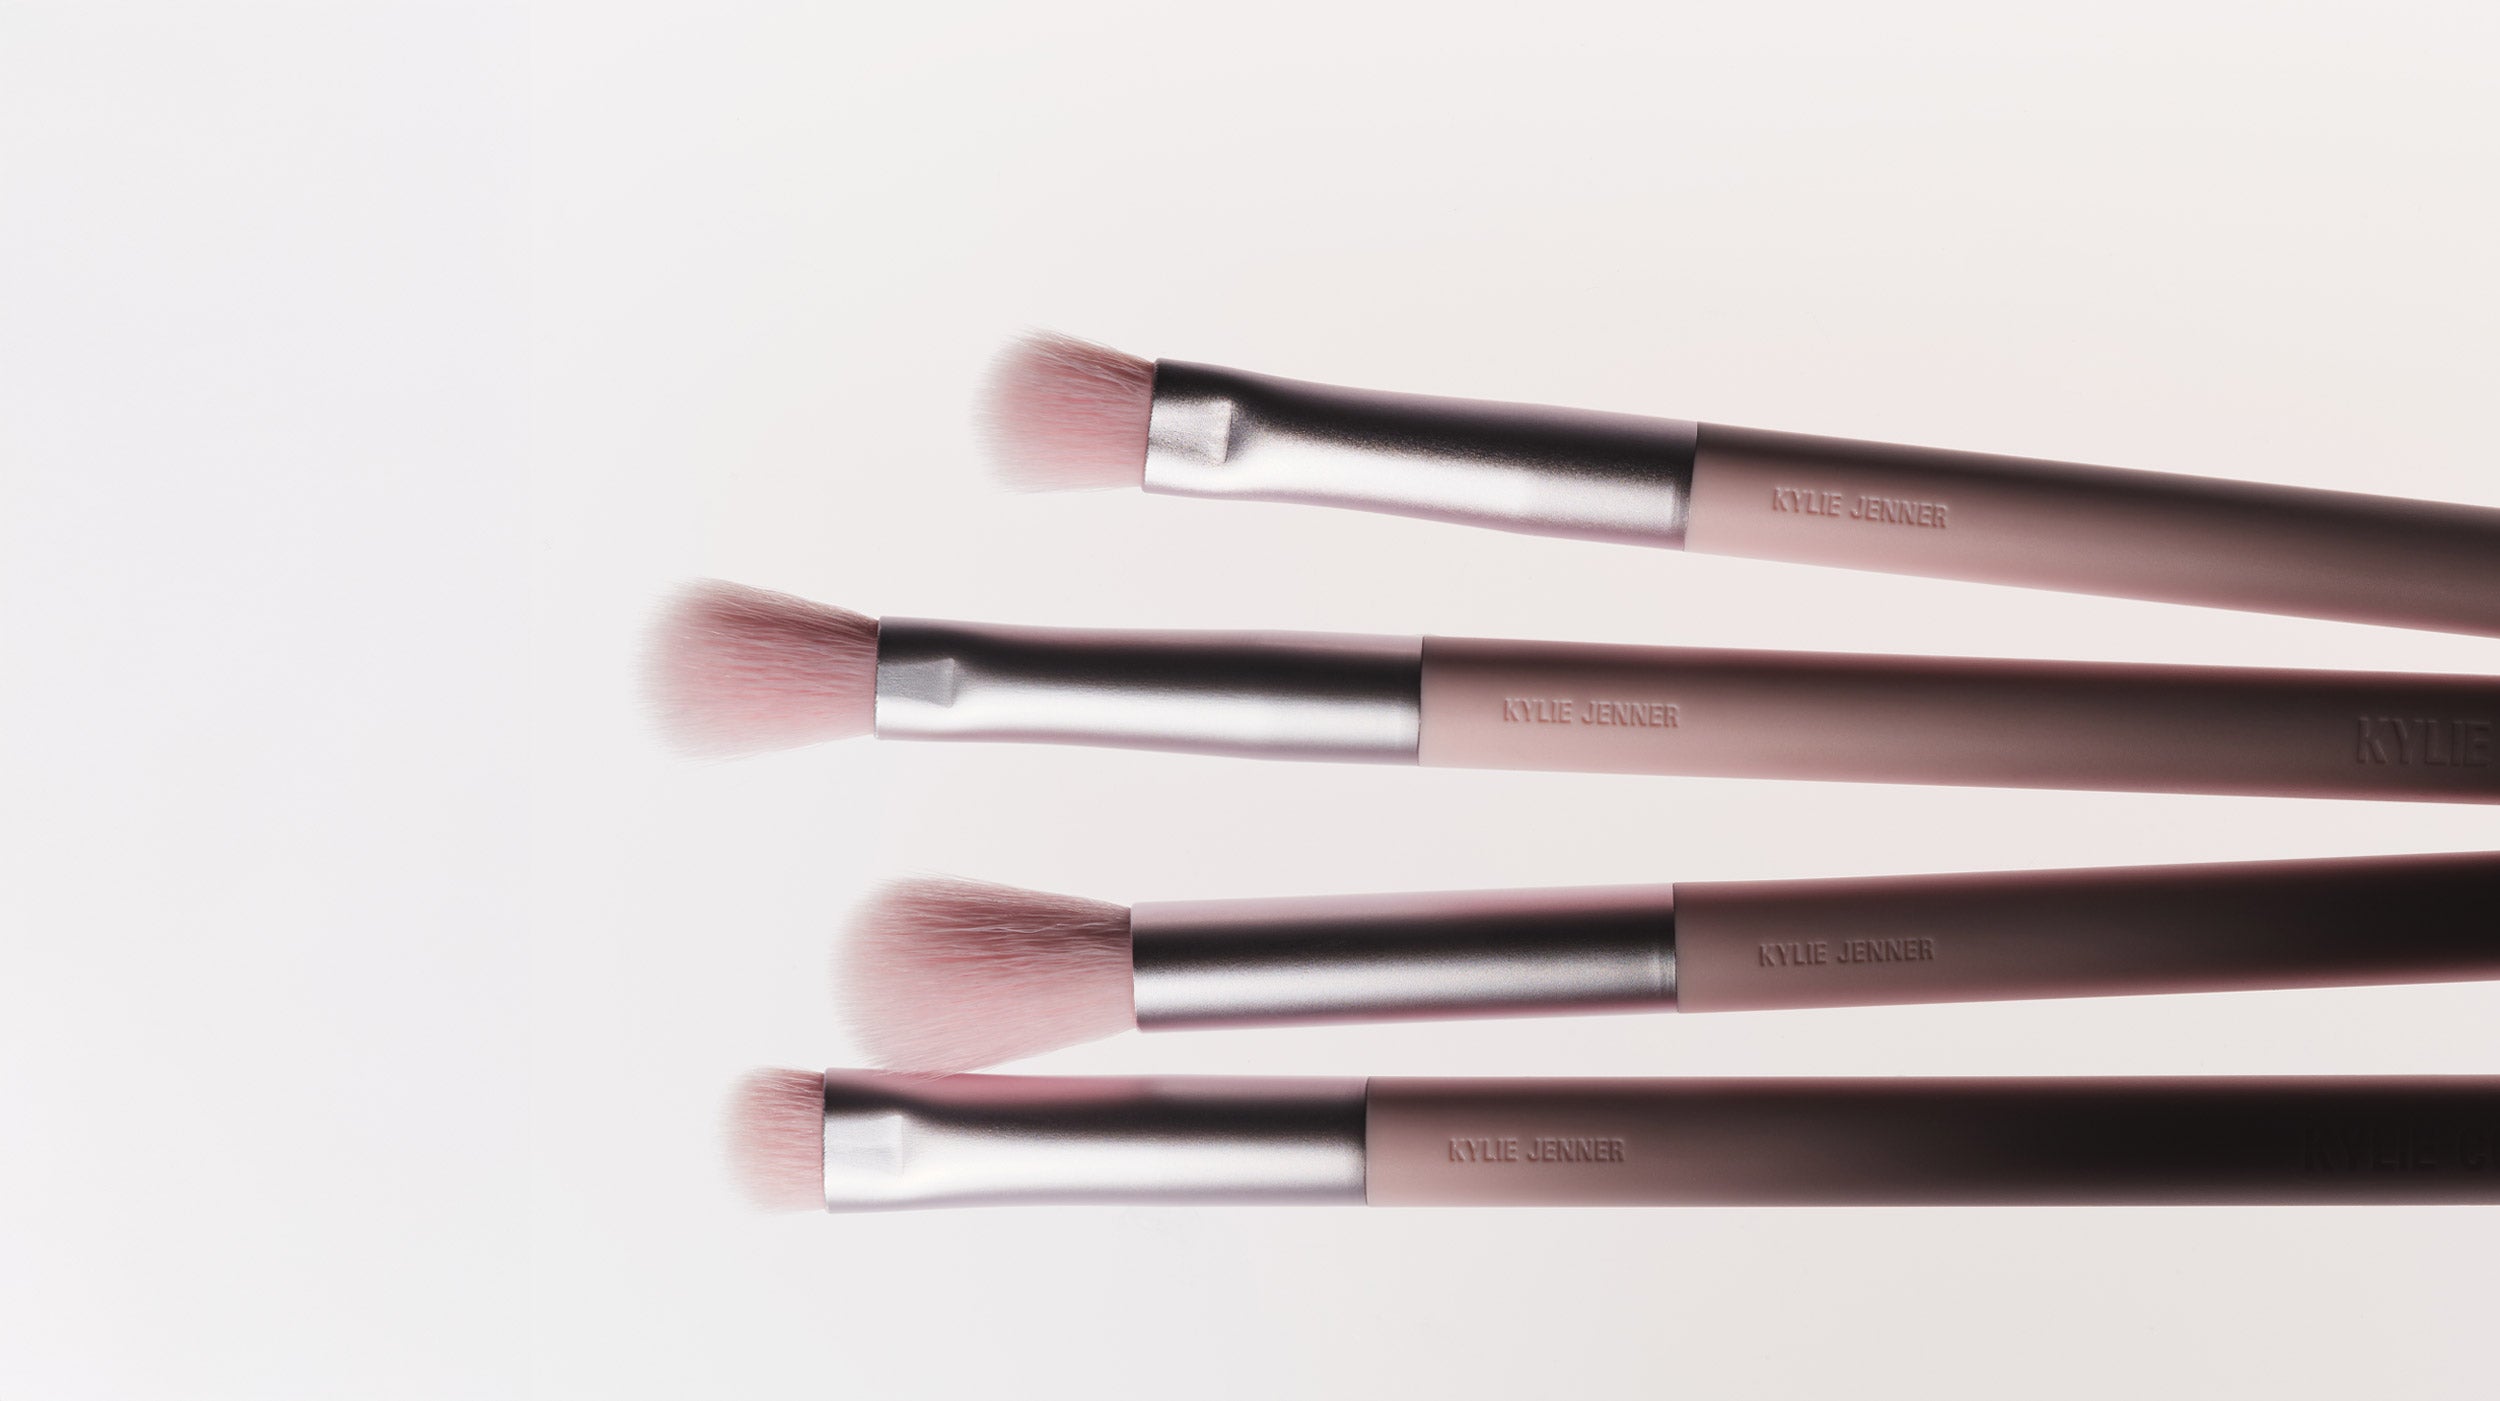
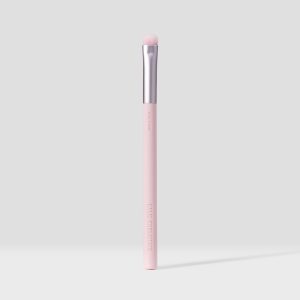
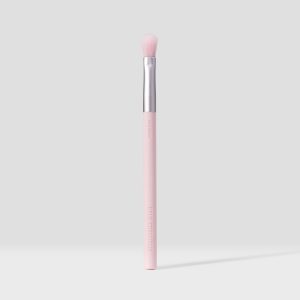
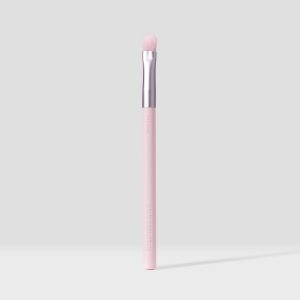
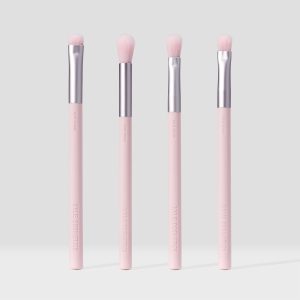
First, eye primer. Like face primer, eye primer is designed to extend the wear time of your eyeshadow, prevent creasing, and make the colors more vibrant. It’s especially important if you have oily eyelids, as eyeshadow tends to crease and fade more quickly on oily skin. To apply eye primer, dab a small amount onto your eyelids (from the lash line up to the brow bone), then blend it in with your finger or a small brush. Wait a minute for it to set before applying eyeshadow.
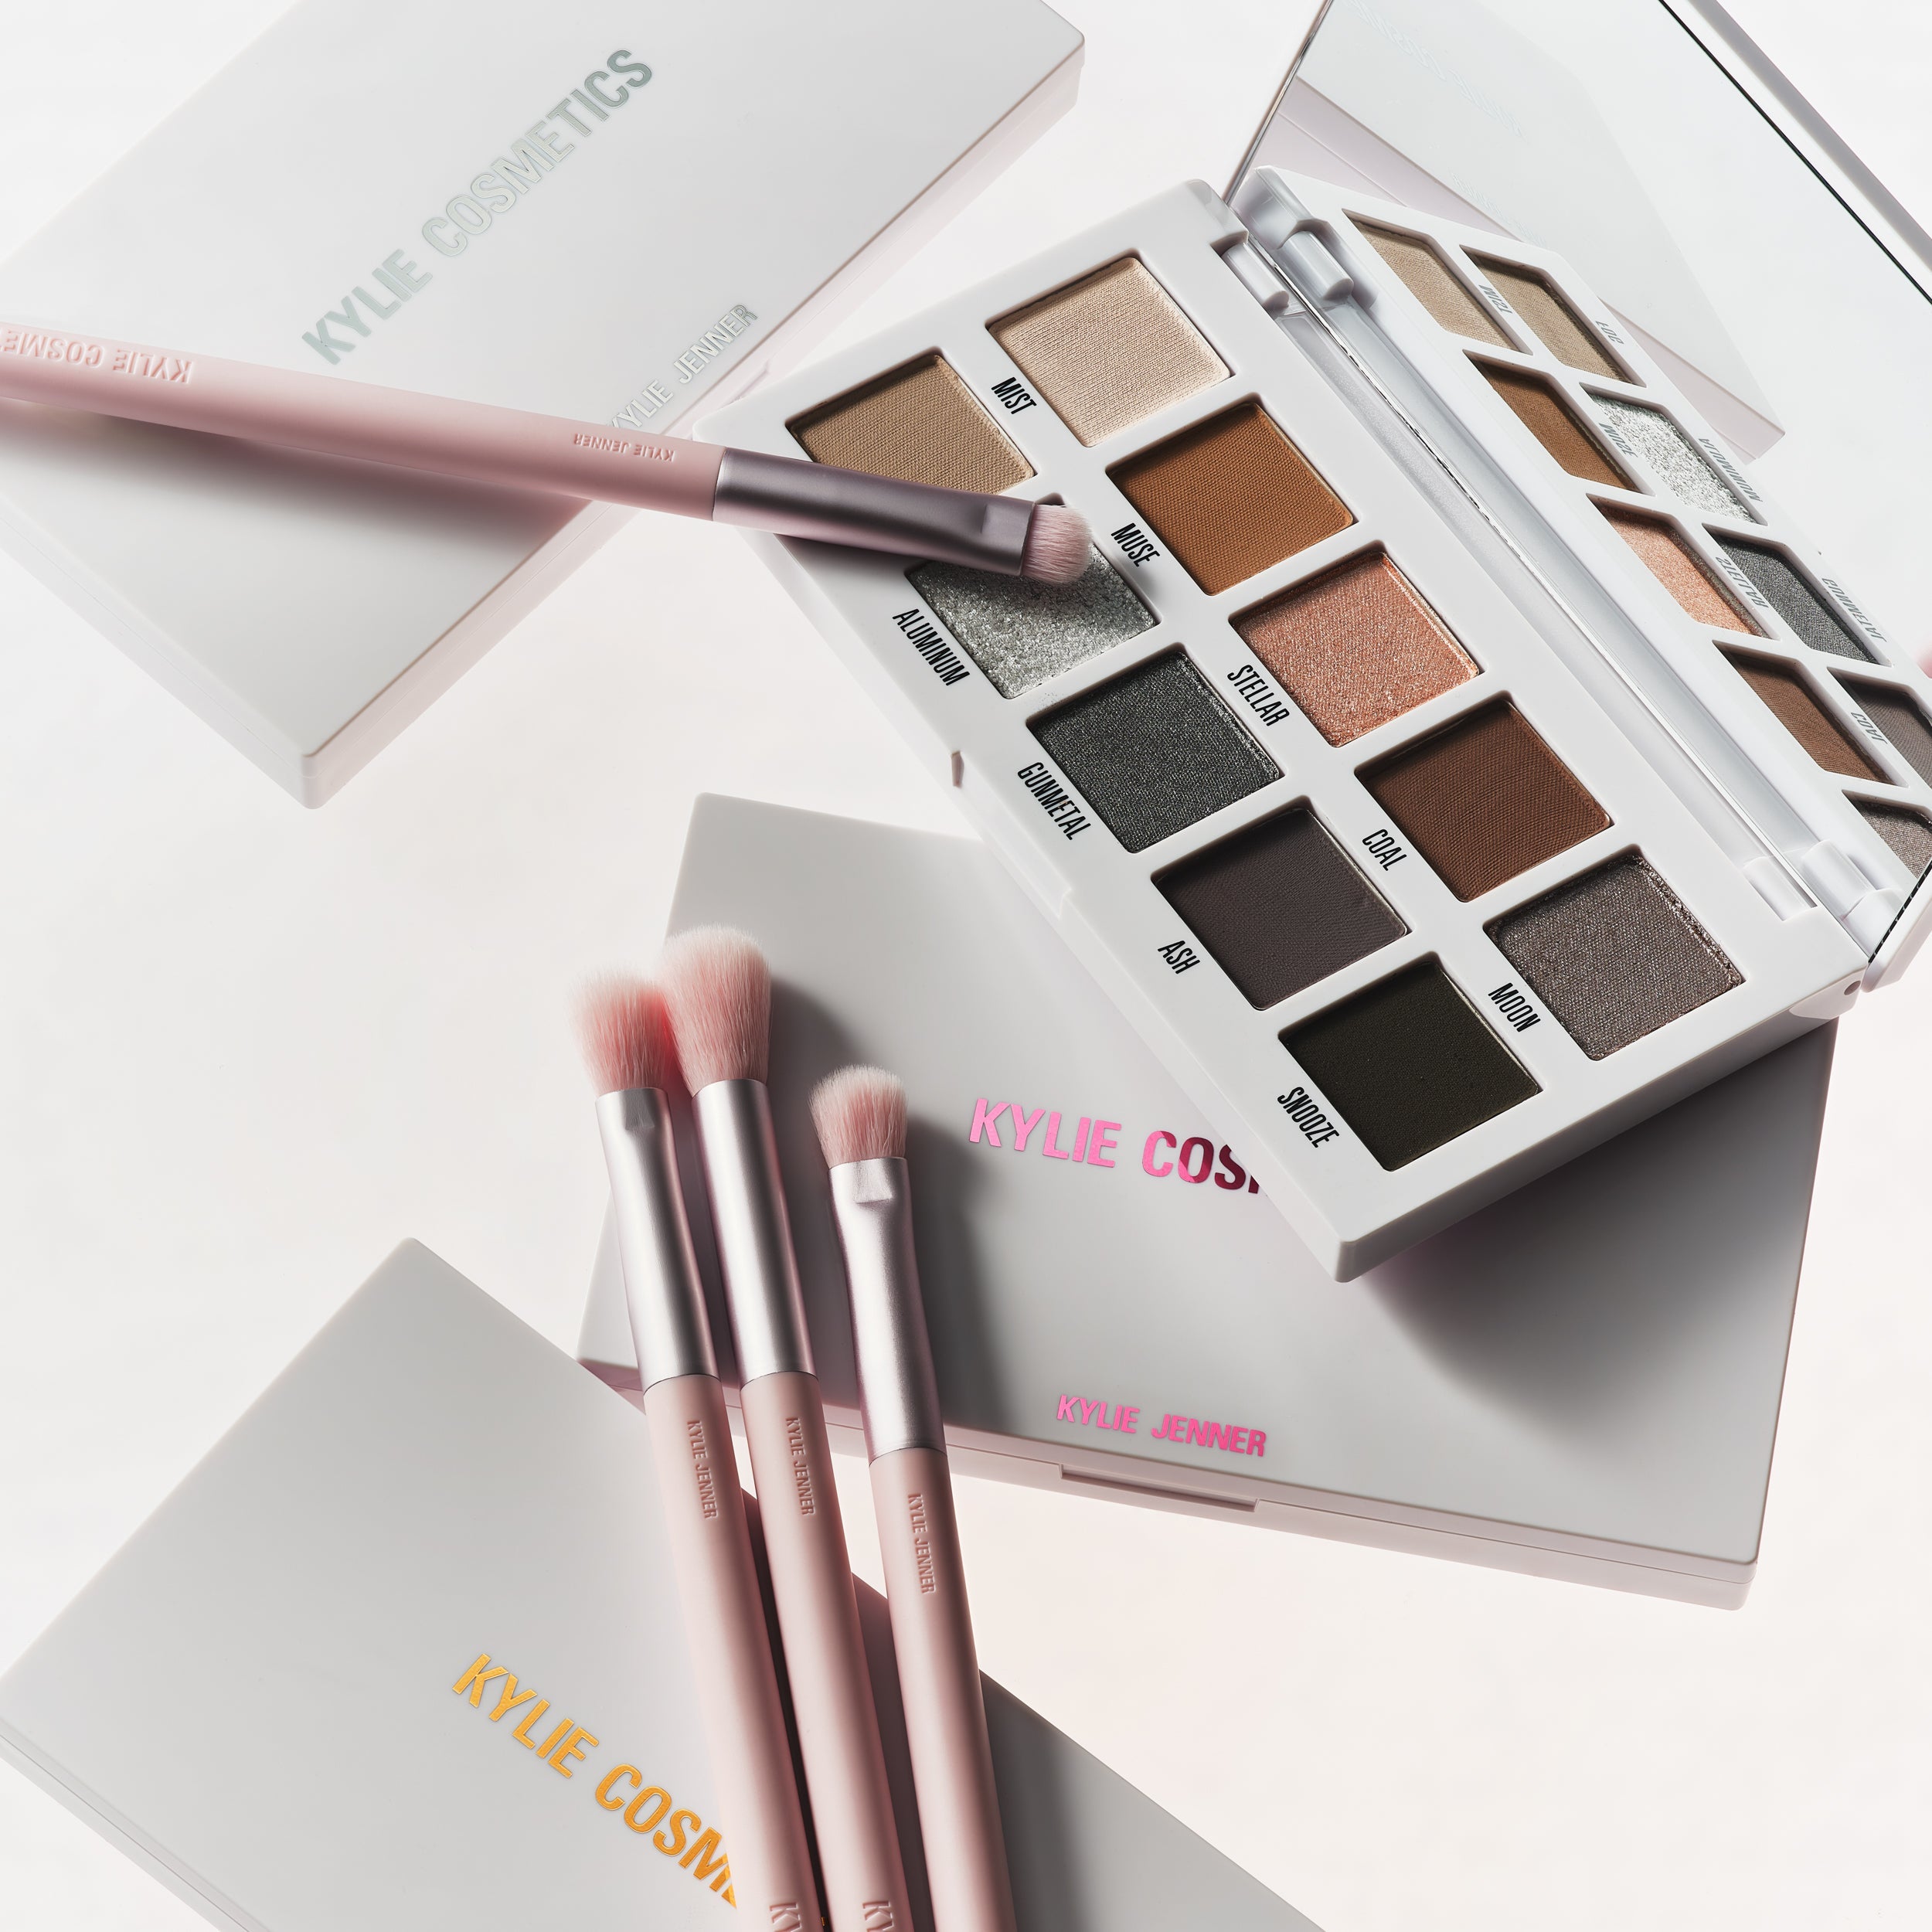
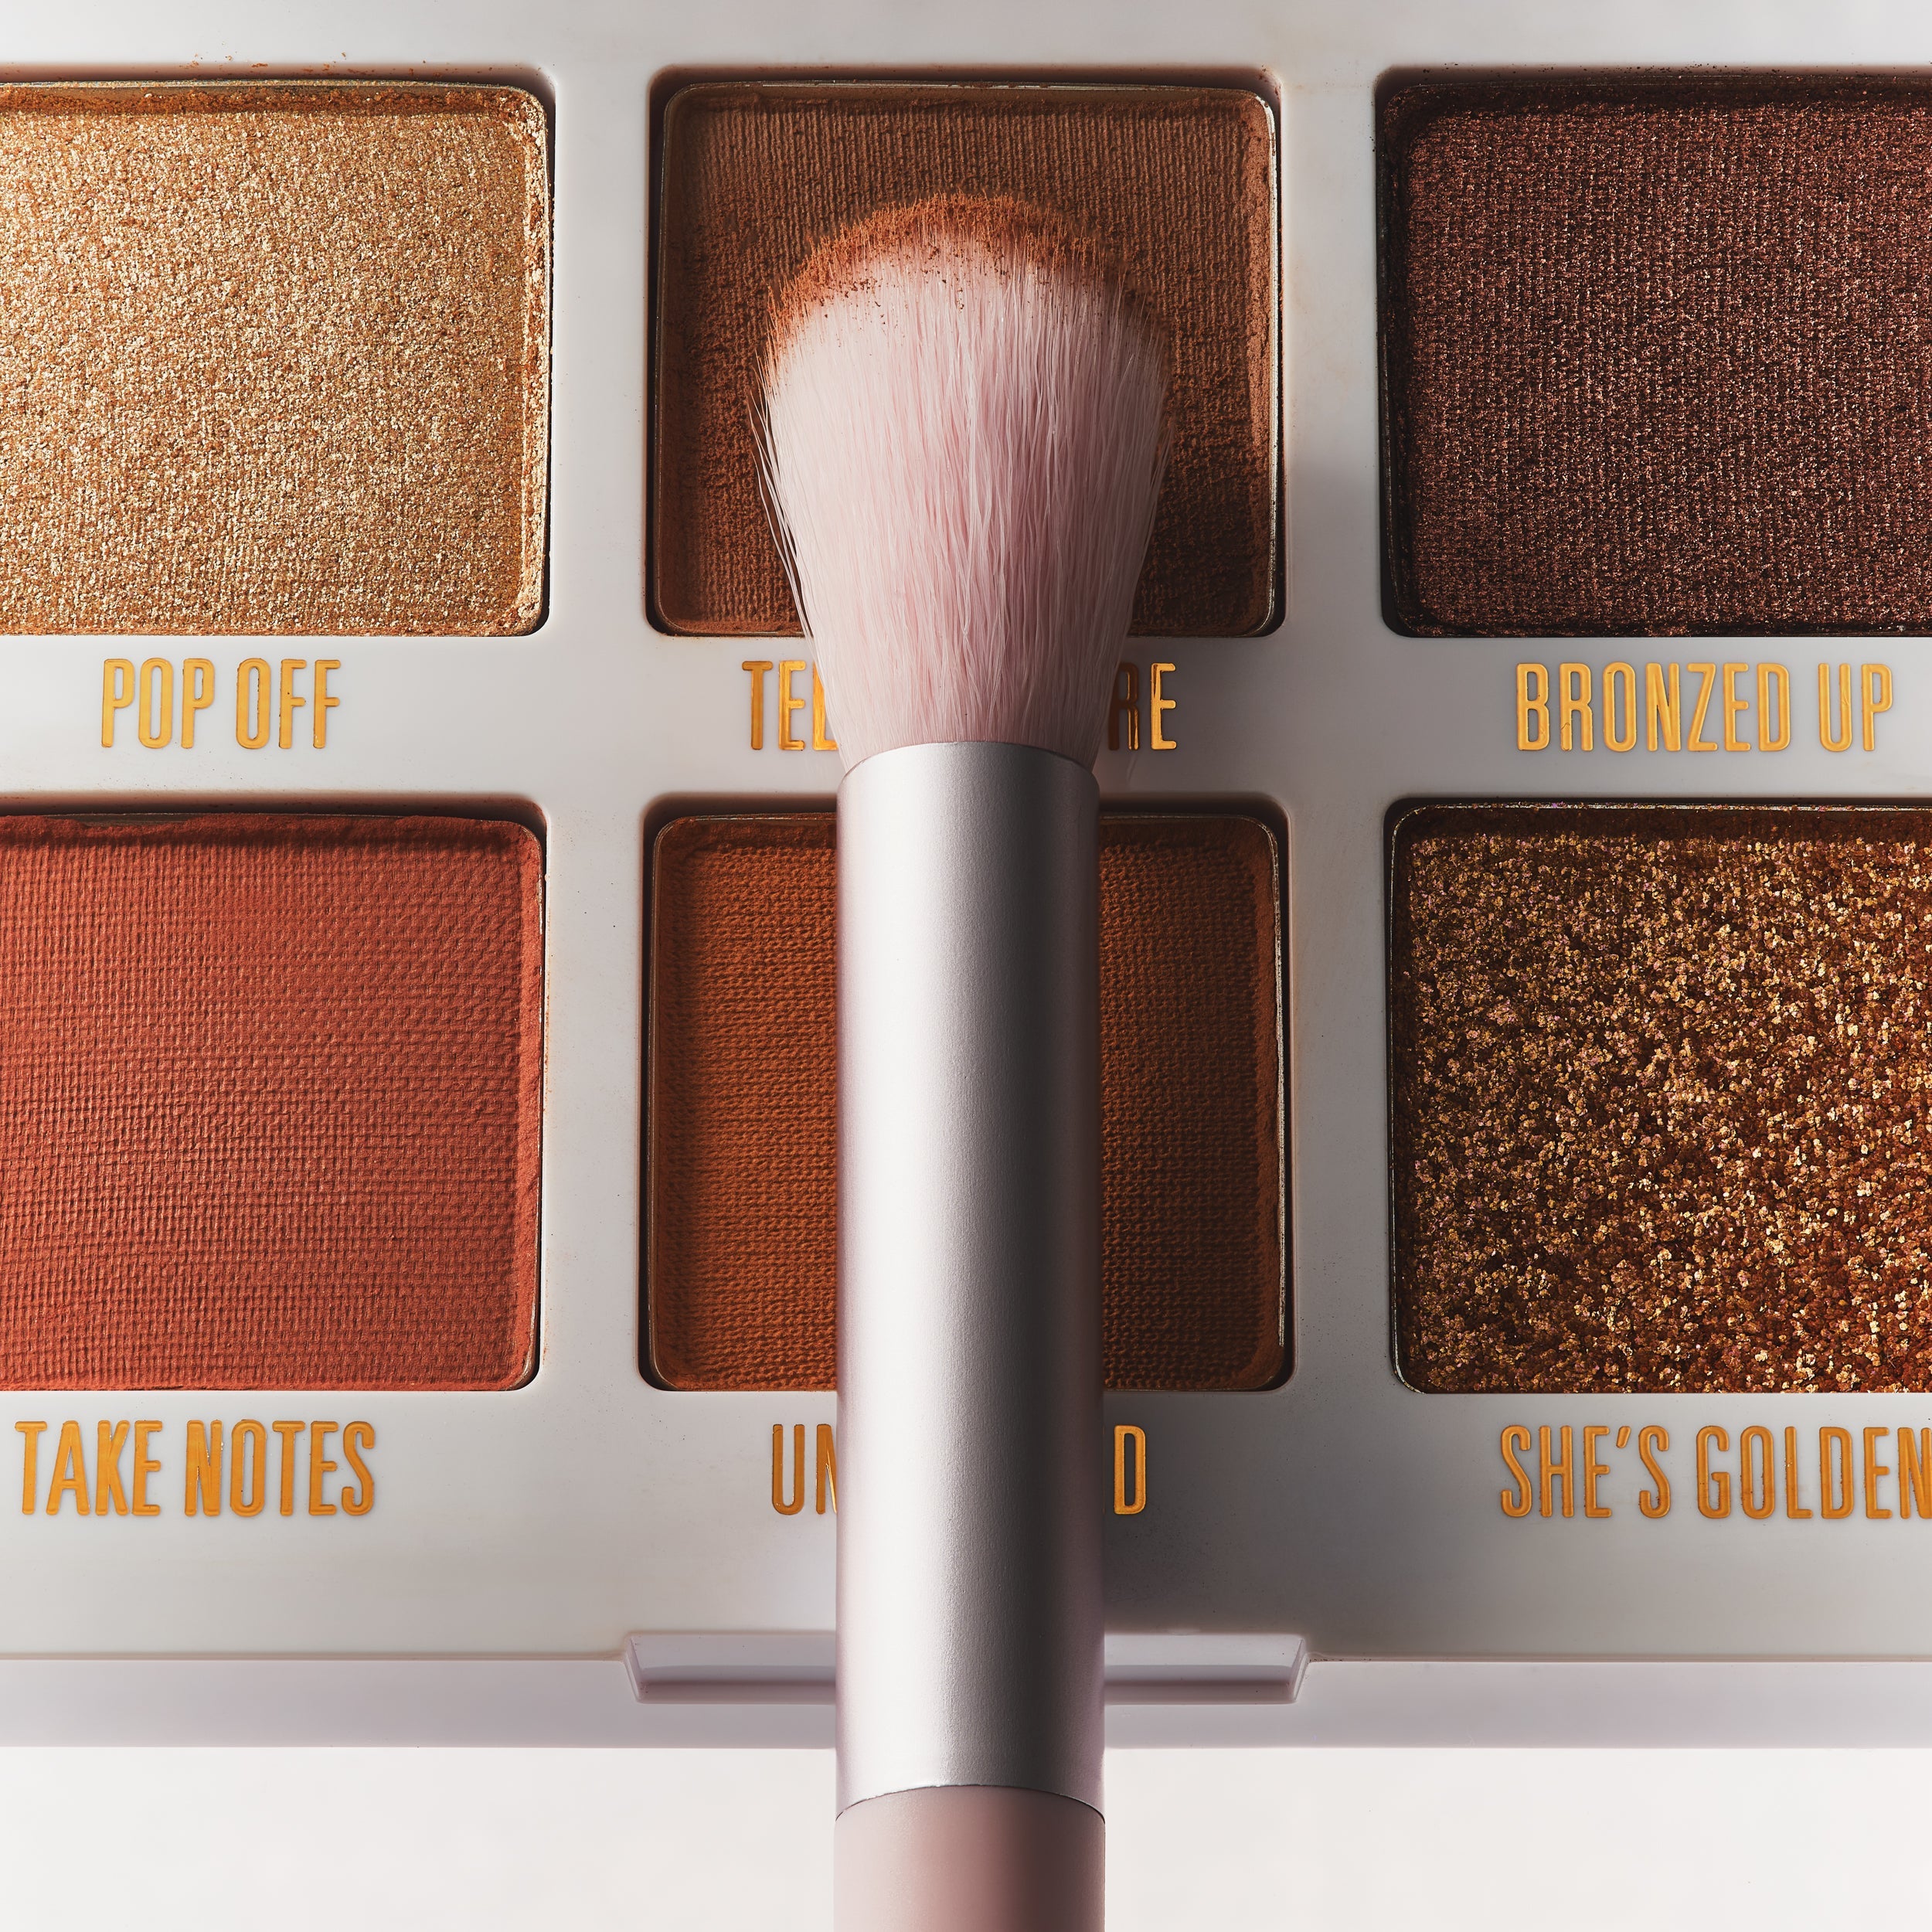
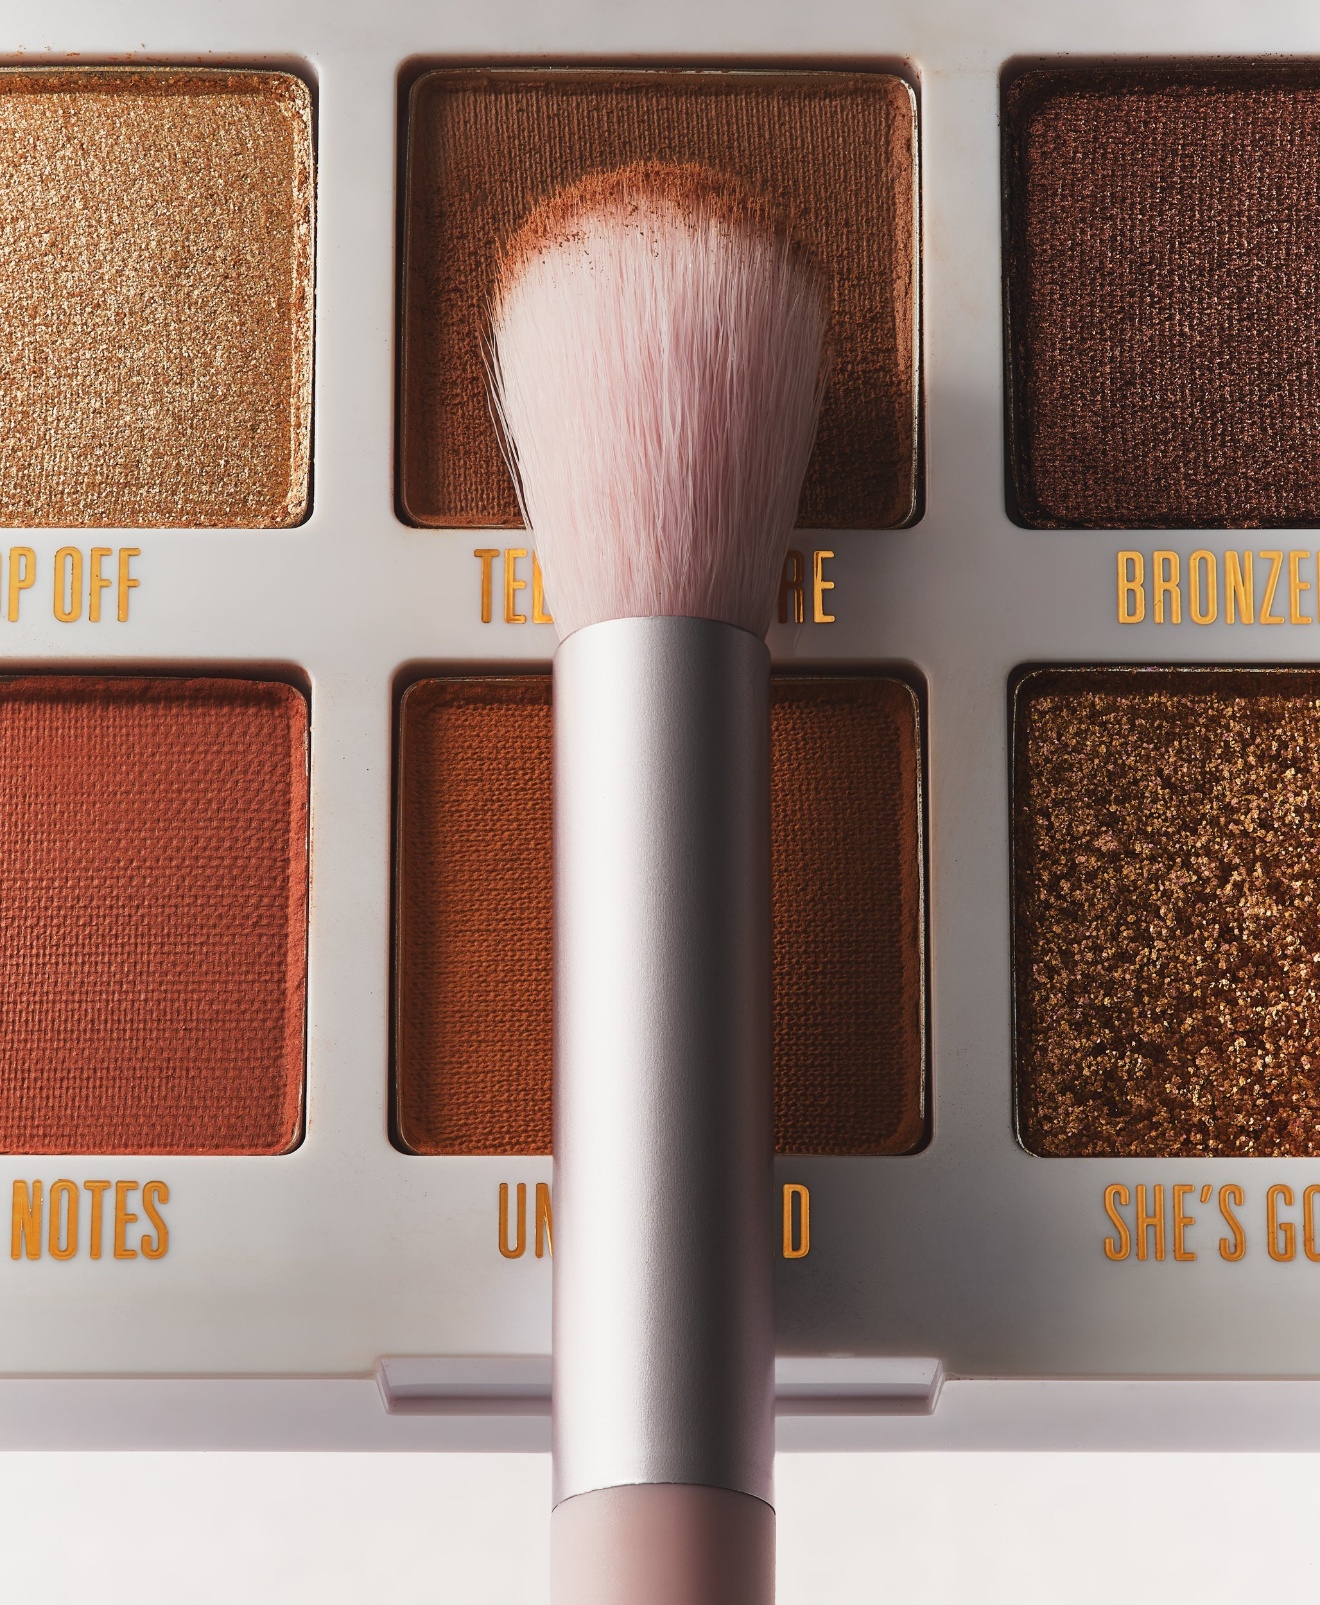
Eyeshadow comes in a variety of formulas—powder, cream, liquid, and pressed. Powder eyeshadows are the most common—they’re easy to blend, come in a wide range of colors and finishes (matte, shimmer, metallic, satin), and are suitable for all skin types. Cream eyeshadows are more pigmented and have a dewy finish—great for dry eyelids or those who want a long-lasting look. Liquid eyeshadows are highly pigmented and have a glossy or metallic finish—they dry down quickly and are perfect for creating bold, statement looks.
When choosing eyeshadow colors, consider your eye color, skin tone, and the occasion. For everyday looks, neutral colors like browns, beiges, taupes, and soft pinks are versatile and flattering. For special occasions, you can experiment with bolder colors like blues, greens, purples, or reds. Here are some tips for matching eyeshadow colors to your eye color:
- Blue eyes: Warm colors like bronze, gold, peach, and terracotta make blue eyes pop.
- Green eyes: Purples, plums, burgundies, and bronze shades complement green eyes.
- Brown eyes: Almost any color works! Try earth tones for a natural look, or bold colors like blue, green, or purple for a statement.
- Hazel eyes: Gold, copper, green, and purple shades enhance the different tones in hazel eyes.
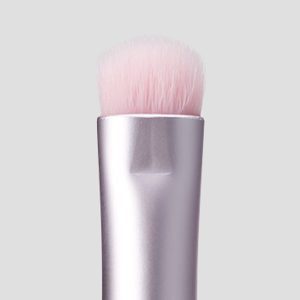
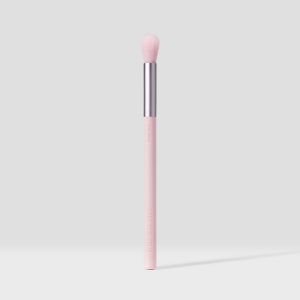
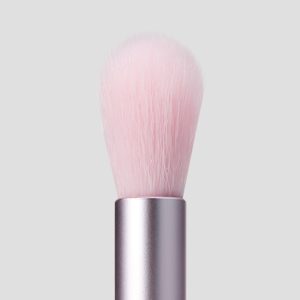
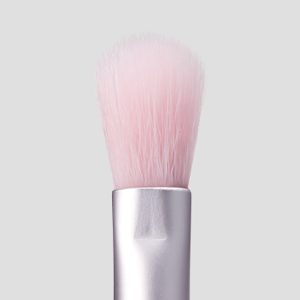
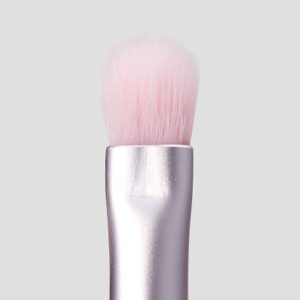
To apply eyeshadow, start with a base color (a light, neutral shade) all over your eyelid—this helps the other colors blend better and makes the look more cohesive. Next, apply a medium shade to the crease of your eye (the area where your eyelid folds) using a fluffy crease brush—blend it back and forth in a windshield-wiper motion to create depth. Then, apply a darker shade to the outer corner of your eye (in a “V” shape) and blend it into the crease—this adds dimension and makes your eyes look more lifted. Finally, apply a light, shimmery shade to the inner corner of your eye and the center of your eyelid—this brightens the eyes and makes them look more awake.
Eyeliner is next, and it’s used to define the eyes, make the lashes look thicker, and create different eye shapes. Eyeliners come in pencil, liquid, gel, and crayon forms.